Teach Me First Comic
The Complete Beginner’s Guide to Creating Your First Comic Book
Every legendary comic book creator started in the exact same place: staring at a blank piece of paper, wondering how to turn a swirling cloud of ideas into a cohesive visual story. If you are sitting at your desk thinking, “Please, teach me first comic creation steps from start to finish,” you have arrived at the perfect starting line.
Making a comic book is a unique art form. It is not just writing, and it is not just illustration. It is the marriage of the two, creating a medium where the pacing is controlled entirely by the reader’s eyes. You do not need to be a master painter to make a great comic. You need to be a storyteller.
This guide breaks down the complex process of comic creation into actionable, manageable steps, taking you from a rough idea to a finished page.
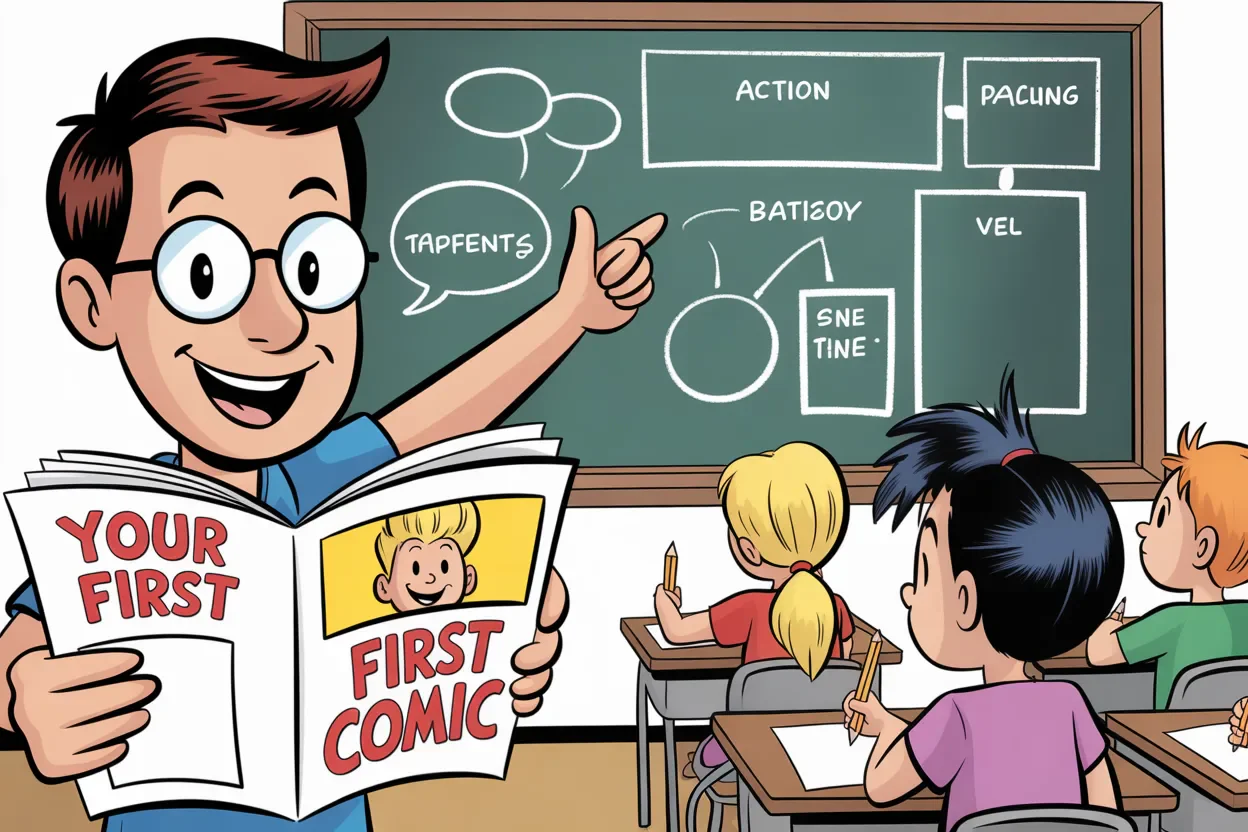
Demystifying the Comic Creation Process
The biggest barrier to entry for new creators is overwhelming themselves. The mainstream comic industry separates the creation process into distinct jobs: writer, penciler, inker, colorist, and letterer. When you are creating your first comic alone, you are wearing all of those hats.
To succeed without burning out, you must treat each phase as a separate task. Do not try to write, draw, and letter a single panel all at once. Work in stages.
Step 1: Developing Your Core Concept and Logline
Before you draw a single line, you need to know what your story is about. A beautiful comic with a terrible story will not keep readers engaged, but a poorly drawn comic with a gripping story can become a cult classic.
Finding the “Hook”
Start with a logline. A logline is a one- or two-sentence summary of your story that identifies the protagonist, the conflict, and the stakes. For example: A retired superhero must navigate suburban life and PTA meetings without revealing her identity, until her neighborhood is threatened by her former arch-nemesis. If you cannot distill your idea down to a compelling logline, your narrative might be too messy to begin scripting.
Keeping Your First Project Small
The most common mistake new creators make is planning a 300-page epic fantasy saga for their debut. You will learn more by finishing a five-page short story than by abandoning an epic on page twelve. Keep your first comic incredibly brief. Focus on a single scene, a single conversation, or a single action sequence. This gives you the psychological victory of actually finishing a project.
Step 2: Writing the Comic Script
A comic script is different from a screenplay or a novel. It is a set of instructions written by the writer (you) to the artist (also you).
The Full Script Method
The most reliable way for beginners to organize their thoughts is the Full Script method. In this format, you break down the story page by page, and then panel by panel.
For each panel, you must provide:
- Panel Description: What is happening visually? What is the setting? What are the characters doing?
- Dialogue and Captions: Exactly what words will appear in the speech bubbles and narrative boxes.
When writing your descriptions, remember that a single panel represents a single moment in time. A character cannot walk into a room, take off their coat, make a cup of coffee, and sit down all in one panel.
Pacing and the “Page Turn” Reveal
Comics have a physical constraint that movies do not: the page turn. As a writer, you control the flow of information. If you have a massive plot twist, a shocking reveal, or a giant monster entering the scene, structure your script so that the reveal happens on an even-numbered page (the left side of a spread). This forces the reader to physically turn the page to see the surprise, creating built-in suspense.
Step 3: Storyboarding and Thumbnails (The Blueprint)
Once the script is done, it is time for thumbnails. Thumbnails are tiny, rough sketches of your comic pages. They are not meant to look good; they are meant to solve spatial problems before you commit to final artwork.
Understanding Panel Flow and the “Z-Path”
In Western cultures, readers consume media from left to right, top to bottom. This creates a “Z” shape across the page. When designing your page layouts, you must ensure that your panels naturally guide the reader’s eye along this path. If a reader has to guess which panel to read next, your layout has failed.
The same rule applies inside the panels. If Character A speaks first, and Character B replies, Character A’s speech bubble must be placed higher and further to the left than Character B’s bubble.
The Power of the Gutter
The space between the panels is called the “gutter.” The gutter is where the magic of comics happens. When a reader sees a character holding a thrown punch in panel one, and the villain falling backward in panel two, the reader’s brain invents the impact that happened inside the gutter. Use the space between panels to control time. Thin gutters make actions feel fast and frantic; thick gutters or wide borders can make a moment linger.
Step 4: Penciling and Inking Your Pages
With your thumbnails acting as a map, you can begin the actual drafting phase.
Traditional vs. Digital Tools
You do not need expensive software. If you prefer traditional tools, you need Bristol board paper, an HB pencil, a kneaded eraser, and a few archival ink pens (like Microns). If you prefer digital, software like Clip Studio Paint or Procreate offers specialized comic creation tools like built-in perspective rulers and panel border generators.
Begin by lightly penciling your pages. Focus on anatomy, perspective, and acting. Once the pencils are tight, you move to the inking phase.
Line Weight and Depth
Inking is not simply tracing your pencils; it is about establishing depth and texture. Objects closer to the “camera” should have thicker, heavier outlines. Objects fading into the background should be drawn with thin, delicate lines. Use heavy, solid blacks to anchor your shadows and guide the reader’s eye toward the focal point of the panel.
Step 5: The Invisible Art of Lettering
Poor lettering will ruin spectacular art, but great lettering is completely invisible to the reader. Too often, beginners leave lettering until the very end, realizing they have left no room in their beautifully drawn panels for the dialogue.
Placement and Bubble Tails
Always plan your speech bubbles during the thumbnail phase. Draw the text first, draw the bubble around the text, and then draw the art around the bubble. Text should breathe; do not cram words against the edges of the balloon.
The “tail” of the speech bubble should point directly toward the speaker’s mouth. The tail should curve naturally, almost like it has a slight gravitational pull, rather than being drawn as a rigid, straight triangle.
Font Choices and Sizing
Use a professional comic font. There are dozens of fantastic, free-for-commercial-use fonts available online designed specifically for comics. Never use generic system fonts like Comic Sans, Arial, or Times New Roman, as they will immediately make your project look amateurish. Keep your font size consistent throughout the entire comic, only changing it for characters who are whispering (smaller text) or screaming (larger, bolder text).
Step 6: Coloring and Toning (Optional but Impactful)
Many incredible comics are entirely black and white. If you choose to add color, approach it with intention.
Flatting
The first step of coloring is “flatting,” which means filling in the characters and backgrounds with solid, flat base colors, keeping inside the lines. This separates the elements on the page and prepares them for rendering.
Color Theory for Mood
Do not just color the sky blue and the grass green because that is how they look in reality. Use color to establish the emotional tone of the scene. A tense, dangerous scene might be drenched in harsh reds and heavy blacks. A melancholic flashback might use a muted palette of soft blues and greys. Let the emotion dictate the palette.
Common Mistakes to Avoid on Your First Try
- The Talking Heads Trap: When characters are having a long conversation, avoid drawing them from the exact same angle for six panels straight. Move the “camera.” Zoom in on a hand gesture, cut to an over-the-shoulder shot, or show a reaction shot.
- Overcrowded Pages: Beginners often try to squeeze too much onto one page. A standard comic page should have between four and seven panels. Anything more risks cluttering the page and shrinking the artwork too much.
- Skipping Backgrounds: It is tempting to draw your characters floating in a void of solid color, but backgrounds establish a sense of place. You do not need highly detailed architecture in every panel, but you must establish the setting early on so the reader knows where the scene is taking place.
Taking the Next Step: Sharing Your Work
Creating a comic is a monumental achievement. Once your final page is exported, you have a physical (or digital) manifestation of your imagination. Start by sharing it with a trusted circle for feedback. From there, you can explore platforms tailored for independent creators, allowing you to build an audience organically. Keep your tools sharp, continue analyzing the work of artists you admire, and most importantly, start planning your next story.
Do I need to be a great artist to make a comic?
No. Clear storytelling and consistent layouts are far more important than technical drawing skills. Many highly successful webcomics feature simple or stick-figure art styles.
What software is best for making comics?
Clip Studio Paint is widely considered the industry standard due to its specific comic creation features, but Procreate, Photoshop, and even free software like Krita are excellent options.
How long should my first comic be?
Keep it as short as possible. A 3 to 5-page standalone story is ideal for a first project. It teaches you the entire workflow without the risk of burnout.
What is the difference between a comic script and a movie script?
A comic script is highly visual and dictates exactly what is happening in a frozen frame (a panel). It also dictates page layouts, ensuring important reveals happen after a page turn.
How do I format speech bubbles correctly?
Ensure speech bubbles guide the reader’s eye in a Z-pattern (left to right, top to bottom). Leave plenty of space between the text and the edge of the bubble, and use a dedicated comic lettering font.